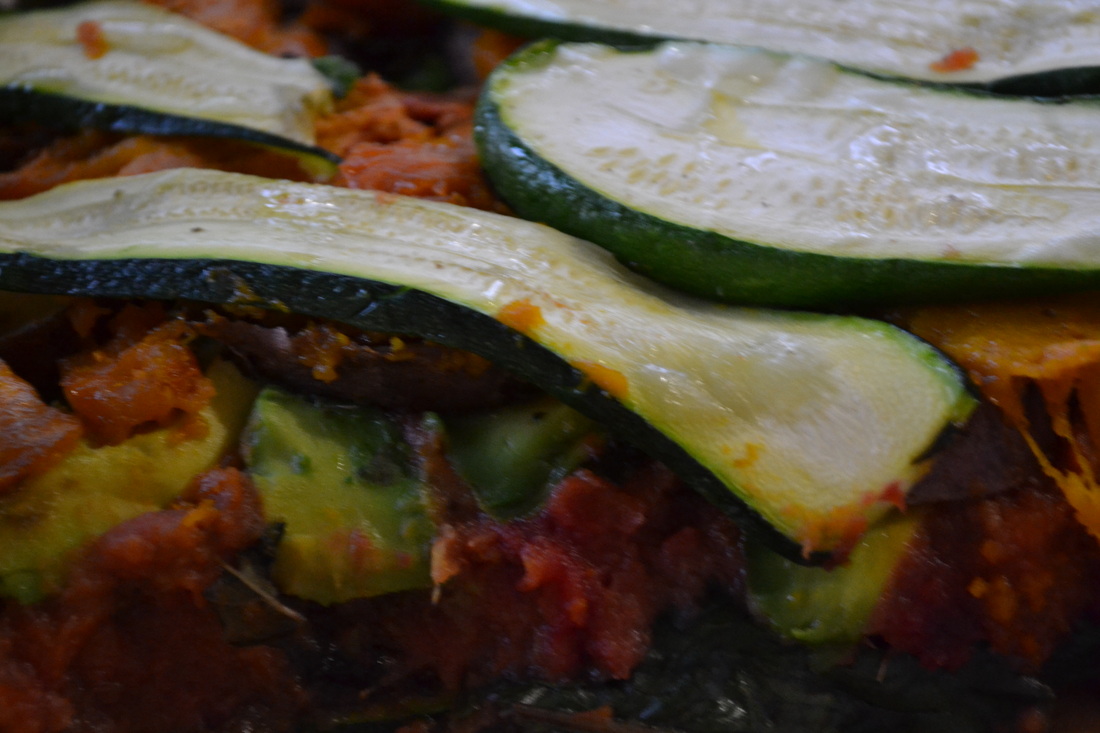
This is a basic vegan dish that we usually make every week. I wasn't going to share this recipe because it's not overly photogenic but a friend requested the recipe after trying it. I don't tend to weigh or measure the ingredients because it is just a matter of layering and you can vary the ingredients to your taste. This is a lot like a veggie lasagne as the avocado gives the dish creaminess and the no-tomato sauce works like a normal tomato sauce. This is a really tasty, simple dish that is perfect for a Meatfree Monday meal.
In a deep dish place....
1 layer of thinly sliced roasted sweet potato (red)
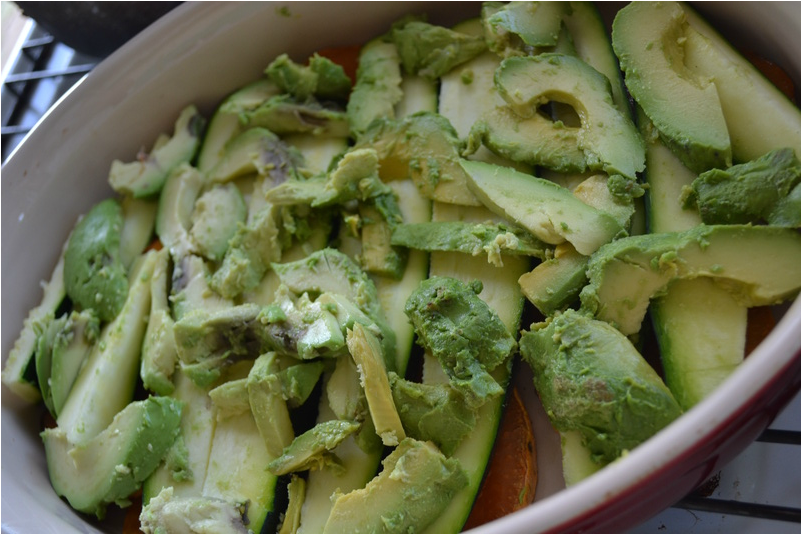
1 layer of thinly sliced raw zucchini (lengthwise) approx. 1 large
1 layer of sliced fresh avocado
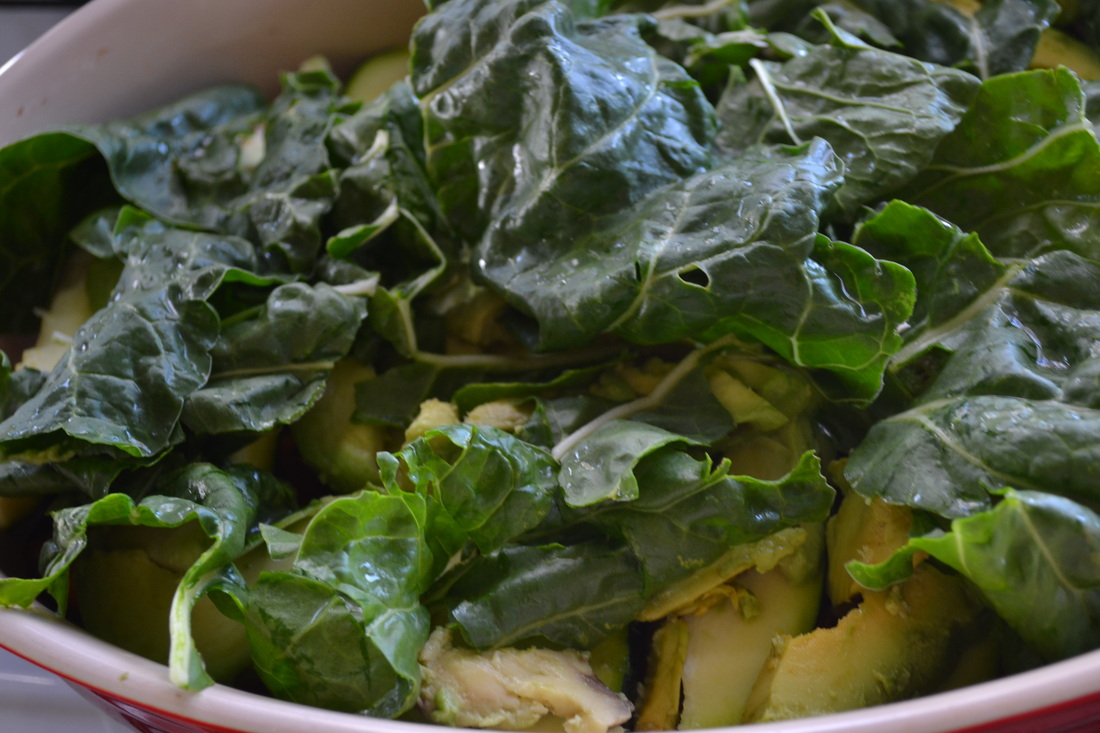
1 layer of fresh silverbeet
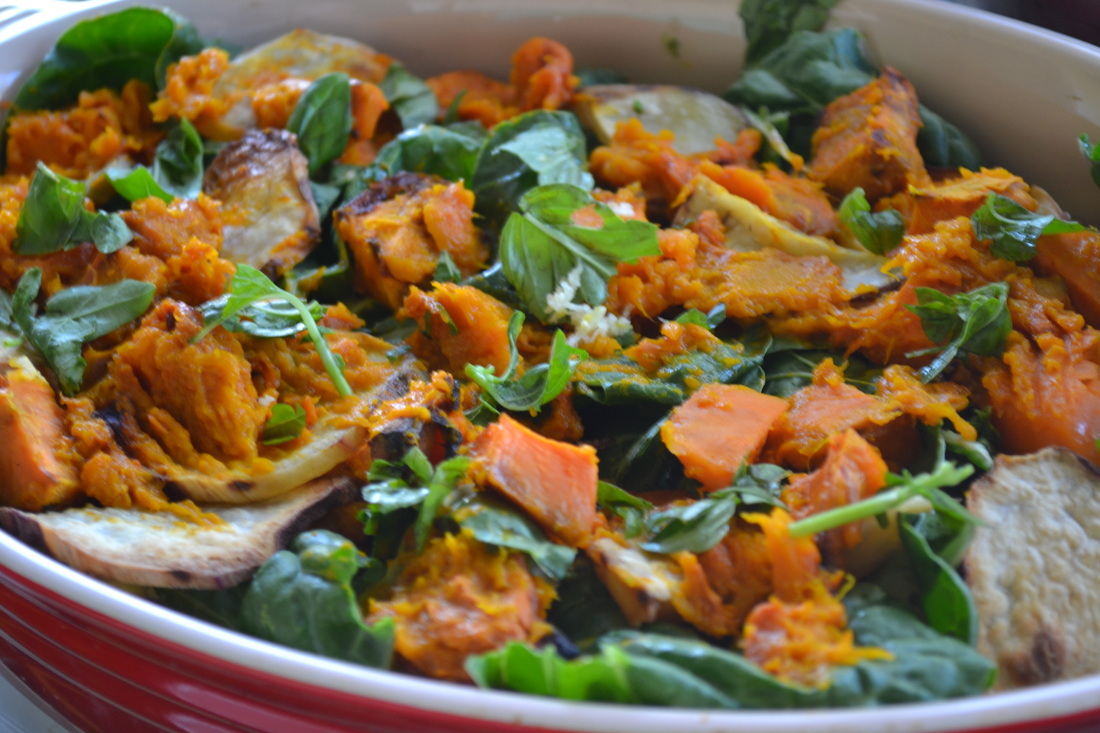
1 layer of thinly sliced roasted purple sweet potato
1 layer of roast pumpkin (roasted in cubes) (gently mashed)
1 layer of our tomato-free base sauce or your favourite tomato pasta sauce
1 handful of chopped fresh basil sprinkled over tomato layer
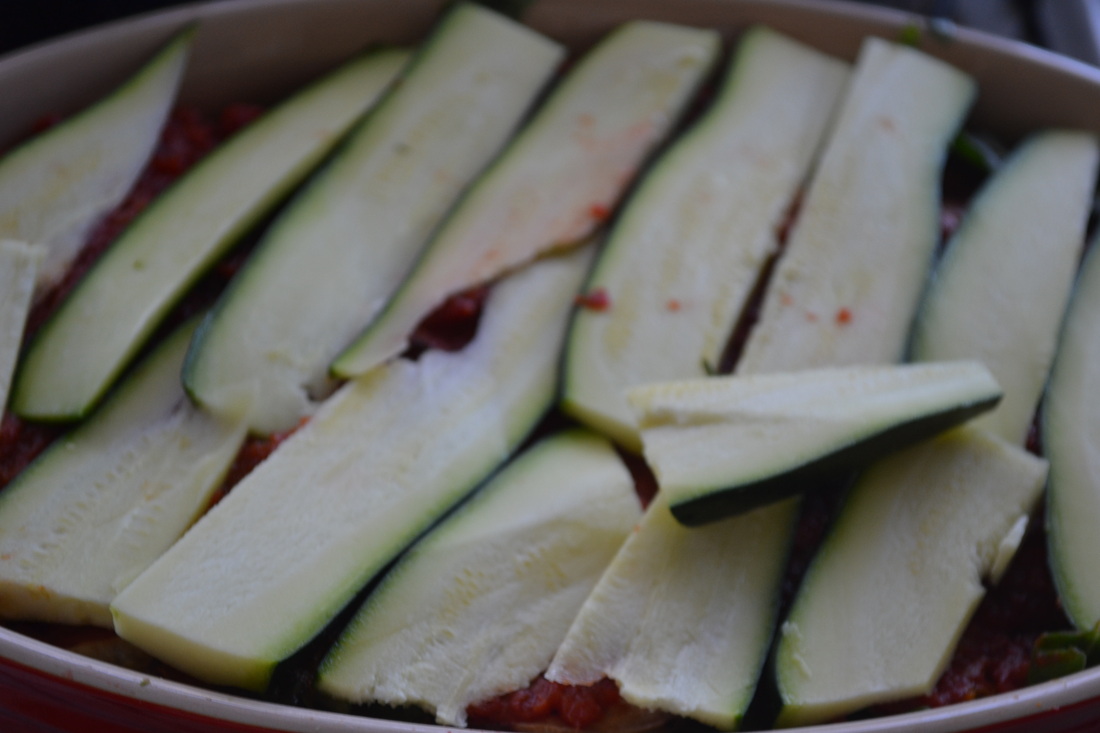
1 layer of thinly sliced raw zucchini (lengthwise) approx. 1 large
Place in a moderate oven and cook for 30min.
In a deep dish place....
1 layer of thinly sliced roasted sweet potato (red)
1 layer of thinly sliced raw zucchini (lengthwise) approx. 1 large
1 layer of sliced fresh avocado
1 layer of fresh silverbeet
1 layer of thinly sliced roasted purple sweet potato
1 layer of roast pumpkin (roasted in cubes) (gently mashed)
1 layer of our tomato-free base sauce or your favourite tomato pasta sauce
1 handful of chopped fresh basil sprinkled over tomato layer
1 layer of thinly sliced raw zucchini (lengthwise) approx. 1 large
Place in a moderate oven and cook for 30min.

 RSS Feed
