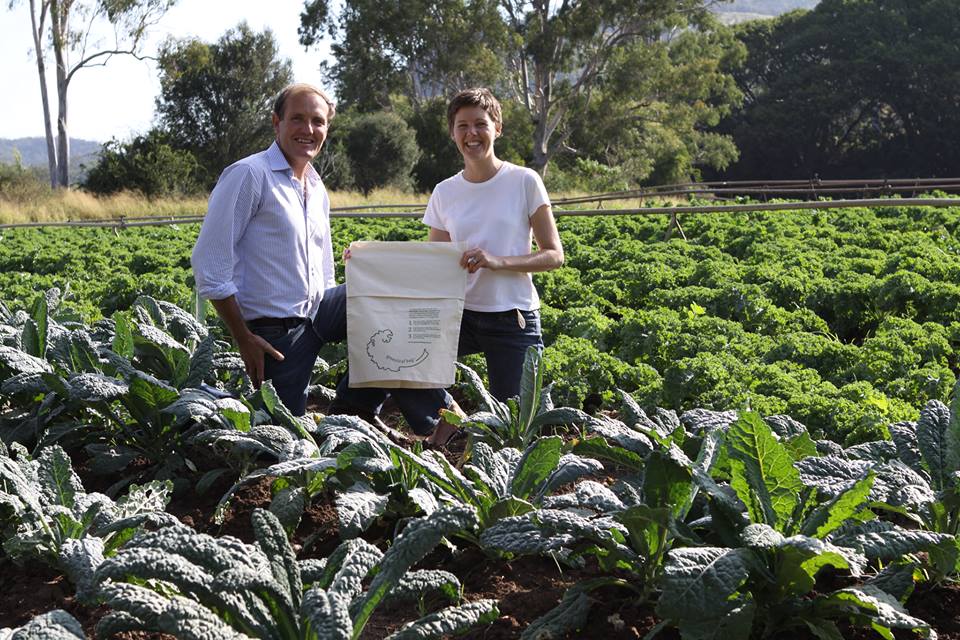
Today we are chatting to Helen from Greenleaf Bag about her health journey and their wonderful bags. We have been using Greenleaf bags in the Marinya Cottage Kitchen for about 6 months and absolutely love them so are very excited to be able to have Helen chat with us. She has also very kindly offered to share her beautiful Macadamia Green Salad and offer one of our lucky readers, the chance to win a pack of 3 Greenleaf bags. To enter, simply tell us why you would like a greenleaf bag in the comment section below this blog post and head over and like the Greenleaf Bag facebook page or subscribe to their mailing list at greenleafbag.com. Winner will be drawn Monday 23rd March 2015 at 7pm AEST.
How long have you been interested in health and wellbeing?
I can’t really remember, in fact I have difficulty remember what our ‘old’ lifestyle was really like! I think our healthy journey started about 5 years ago when my husband and I decided to get our bodies into better shape before we turned 30!
It started with Max finding himself a personal trainer through the gym he was going to and she had him on protein powders and the only meals he was allowed was plain rolled oats and steamed veges with grilled meat – no condiments! I got bored very quickly and started looking for an alternative health route to explore. Our next step was Cyndi O’Meara’s 4 Phase Fat Elimination Protocol – this was a great detox for both of us. During this time I began reading and exploring and soon we found ourselves at a 3 day bootcamp for health with Don Tolman which meant our next cleanse was his colon cleanse followed by 14 days on pulse.
Since then I have read widely, one of my favourite authors is Dr Norman Walker who created the first cold press juicer; still made today, the Norwalk Press. I prefer to learn from the older practitioners such as Don Tolman, Dr Norman Walker and Dr Fred Bisci. I have experimented with fasting, raw food diet, vegetarian diet; but I love honey in homemade yoghurt too much to go vegan! (however I once said that about not eating meat too!)
Through my experimentation I found that my healthy expression was greatest when I ate more green leaves. This was made most obvious to me when experimental diets failed and my healthy expression declined (I have never been really sick, but perhaps I noticed less energy or my sluggish elimination or foggy brain or dry skin) and I would find that I could restore my healthy expression by eating more green leaves. This led me into the work of Victoria Boutenko who started the Green Smoothie Revolution and Markus Rothkranz a crazy American raw foodist with a really balanced approach (I know that sounds contradictory! Most health rebels are a bit crazy!).
Well that leads right into my next question – how did you get started with the Greenleaf Bag?
Well I started buying and growing more green leaves but I found that I often had intentions greater than my actions; meaning I would buy more than I would juice or I had intentions to have more smoothies than I actually did. So I was frustrated that I was wasting really good quality produce. I was also frustrated by what seemed to me to be a glaring contradiction in my own actions – I was buying really good quality organic produce direct from the farmers and then putting in a plastic bag before I put it in the fridge. This seemed ridiculous to me and eventually the bother was great enough that I solved my problem by creating the greenleaf bag. Now I hope that it can also serve other people and help them enjoy their greens and vegetables in their most nutritious state. No-one feels motivated to eat the fresh, nutritious produce they bought when they pull I out of the fridge and find that it is sour, bitter and wilted! If I can encourage people to keep their produce as fresh as it was when they bought it then I believe that I am simultaneously encouraging them to eat more of it which can only have healthy results for everyone!
Does the greenleaf bag really keep produce as fresh as the day it was bought?
I know, it sounds impossible doesn’t it! We ran some experiments the results are below and we found that the lettuce, broccoli and carrots all gained weight and crispness when they were kept in the greenleaf bag. Meaning that they re-hydrated whilst kept in the damp bag. This is possible because the bags are made from 100% cotton natural fibres which allows the produce to breath – we often forget that even though the produce has been picked it is a still breathing (exchanging gases and therefore, moisture) and when we place our produce in plastic it essentially suffocates which we often call ‘sweating’ in the bag. So by keeping the produce away from plastic and in a damp natural fibre bag instead the produce can breath and absorb moisture which keeps it sweet, crisp and nutritious for much longer.
How long depends on the quality of the produce when it is purchased and the air flow in the fridge it is kept in. I have kept super fresh, just picked baby cos lettuce that I buy from my favourite grower at the markets for 2 weeks and still enjoyed it, however it is more desirable to buy only what you need and not need to keep it for two weeks!!!!!
Now we no longer feel that sinking feeling we used to get when we pulled our organic, locally grown produce out of the plastic bag. There is very little research available about plastic sublimating into food. However, what I can find suggests that it is always sublimating into our food but in very low amounts, but, these very low amounts accumulate over the course of our life and no-one knows what that really means for our long term health. So my decision is to limit my exposure to plastic whenever and wherever I can.
Our greenleaf bag works really well and it is our simple contribution to everyone’s healthy journey. Like you Jane, I have also written some recipes that include green leaves to encourage everyone to eat more of them. We all know that greens and fresh vegetables are good for us, but sometime we just need a little encouragement and a few good recipes to re-ignite our enjoyment of them.
You can find out more about Greenleaf bags and purchase them online fromhttp://greenleafbag.com.au/ or via their facebook page here
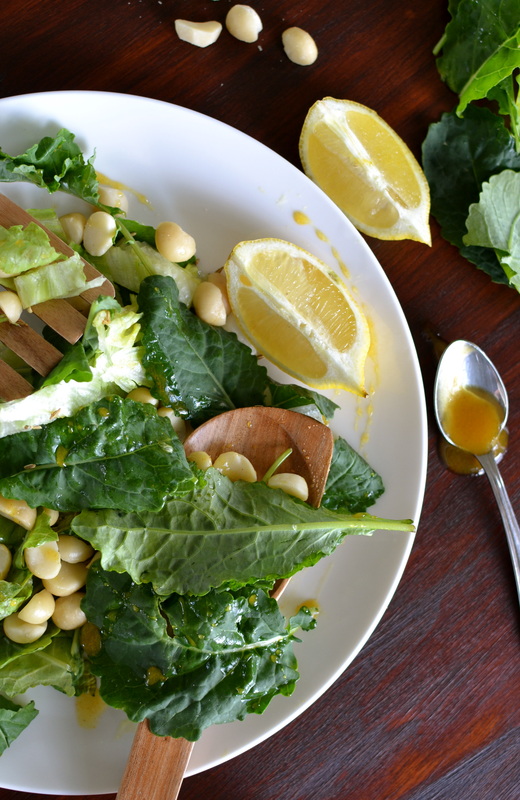
Helen's Macadamia Green Salad with Honey, Tumeric and Fennel Dressing
2 cups loosely packed, finely chopped Kale (mixed varieties is good, Collard greens are OK)
2 cups loosely packed, finely chopped Cos Lettuce
½ teaspoon of cold pressed extra virgin Macadamia oil
2 teaspoons of raw Honey
1/8 teaspoon of Cinnamon, Allspice & Nutmeg blend* (or simply use Cinnamon alone)
½ teaspoon of powdered Turmeric
½ teaspoon of Fennel seeds
¼ cup of Macadamia nuts
Dry Roasting the Fennel Seeds
Put a fry pan on heat, once it is quite hot, add the Fennel seeds & stir until they are fragrant & very slightly browned. This will take less than 2 minutes. Immediately tip the dry roasted Fennel seeds into a cool (room temperature) ceramic bowl. After they have cooled taste one to make sure they are not burnt. If they are burnt they will be very bitter.
Honey Dressing
Place Honey, Cinnamon, Allspice & Nutmeg blend, powdered Turmeric & dry roasted Fennel seeds in a bowl. Stir & Set aside.
Putting it together!
Place finely chopped Kale leaves in a bowl & add the cold pressed extra virgin Macadamia Oil. Massage the oil through the leaves. Do this until the leaves look a little bruised & the oil is evenly distributed throughout.
Add the finely chopped lettuce & honey dressing & toss gently to evenly distribute the honey dressing.
Sprinkle with the Macadamia nuts.
Makes two large serves or 4 serves as a side dish.
* To make the Cinnamon, Allspice & Nutmeg blend place 4 whole Cinnamon sticks, one small (or half a large) Nutmeg nut & 6 Allspice into a powerful spice grinder & grind
Photography and Recipe by Helen and Max Reynolds, Greenleaf Bag
 RSS Feed
