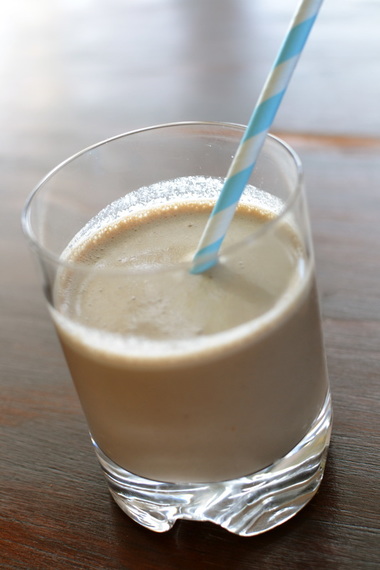
Almond Chocolate Milk
1 cup of Almonds
2 cups filtered water
3 Tablespoons Raw Cacao
4 Medjool Dates
Soak almonds in water for at least 1 hour but preferably overnight. Drain, rinse and place in blender. Blend on high speed until finely chopped. Add 1 cup of the filtered water and blend on high to combine. Add another cup of filtered water, 3 tablespoons of raw cacao and 4 medjool dates. Blend on high speed until mixture is creamy (about 30 seconds -1 minute) Pour chocolate mixture through a nut milk bag or muslin cloth and enjoy.
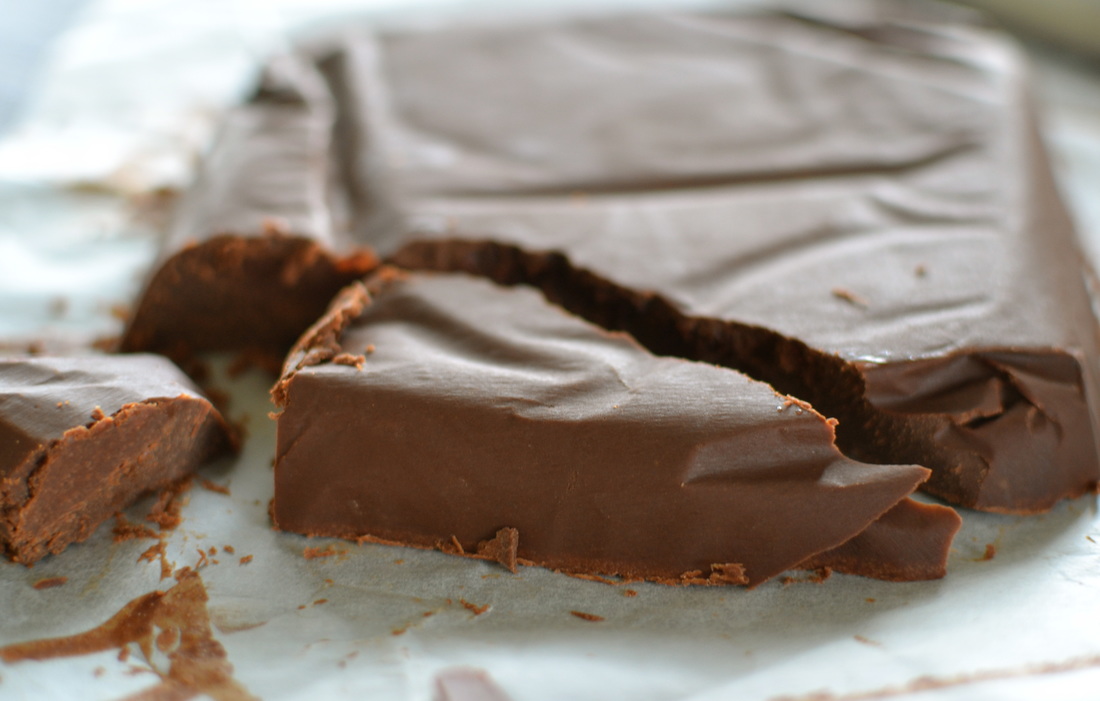
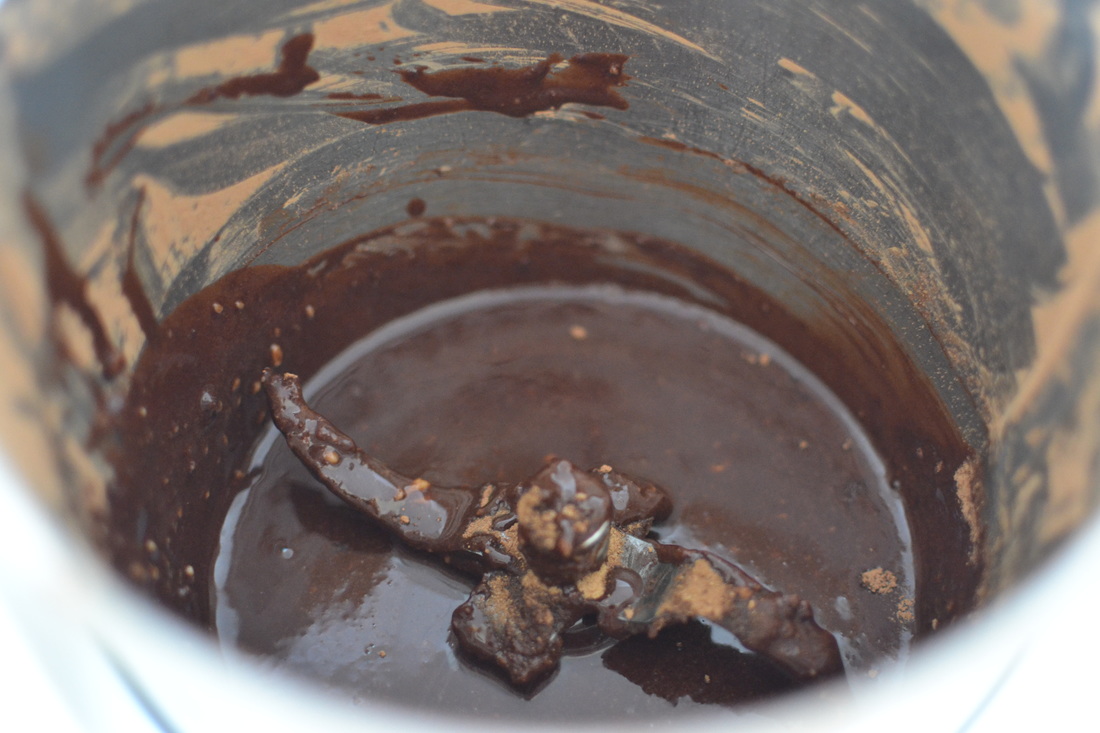
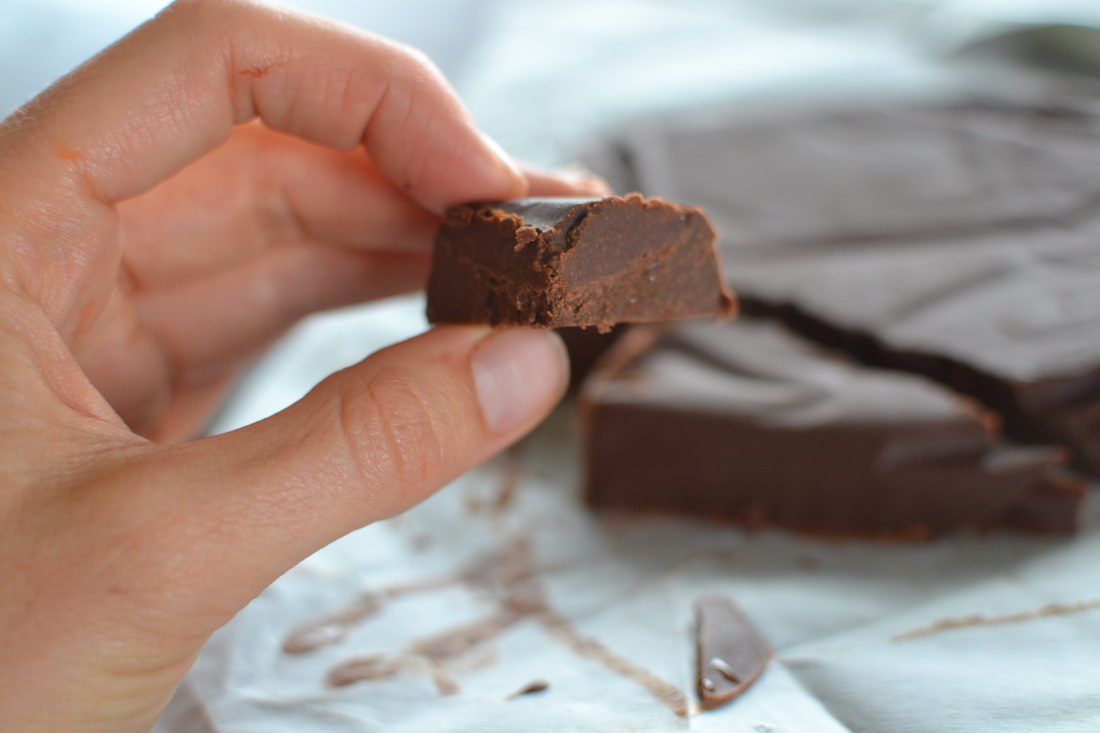
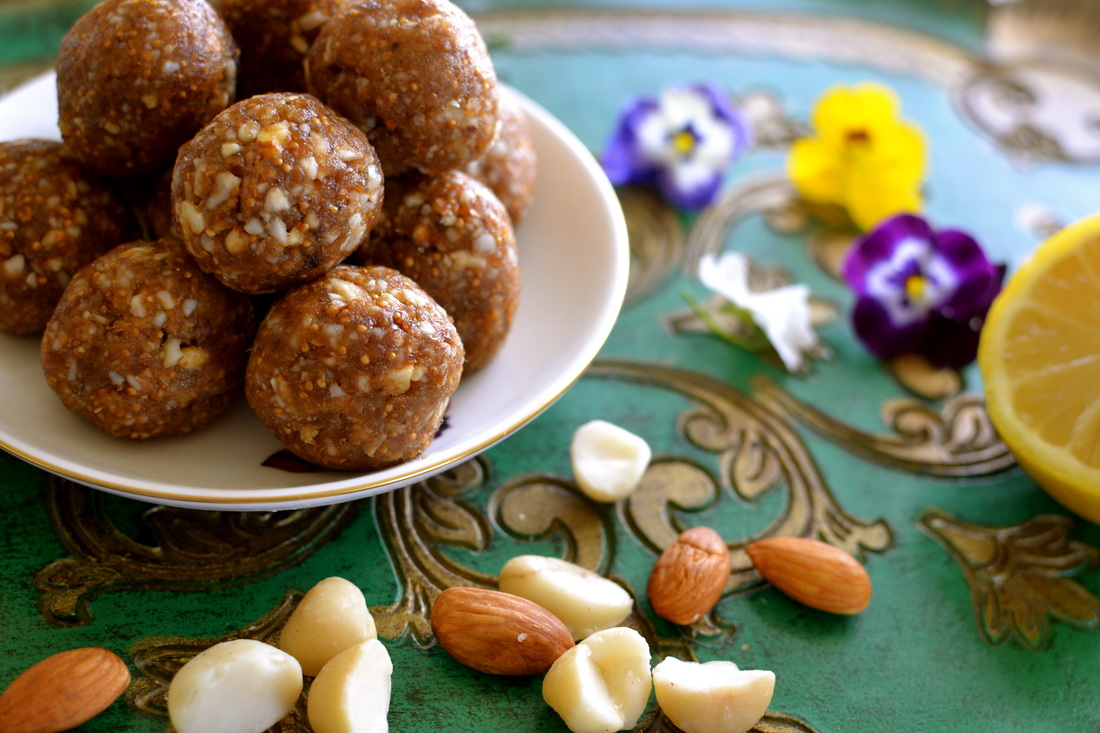
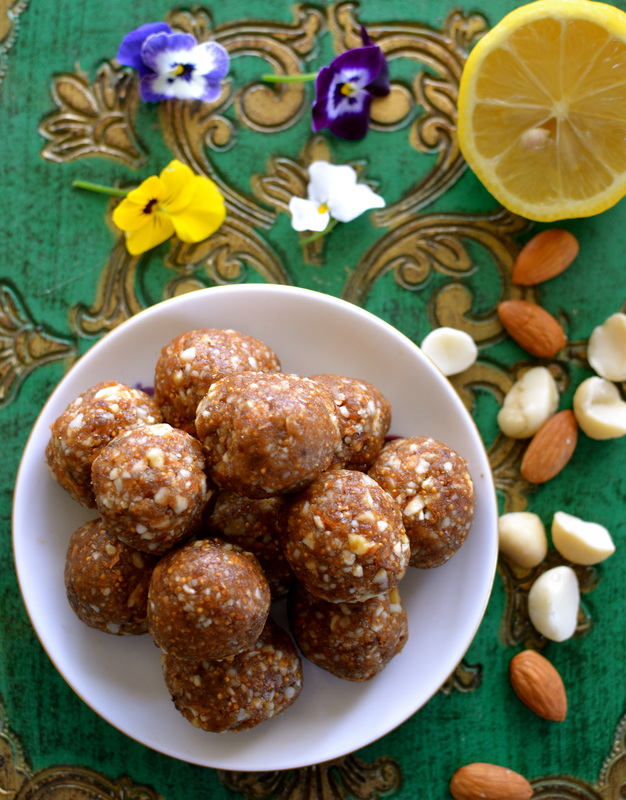
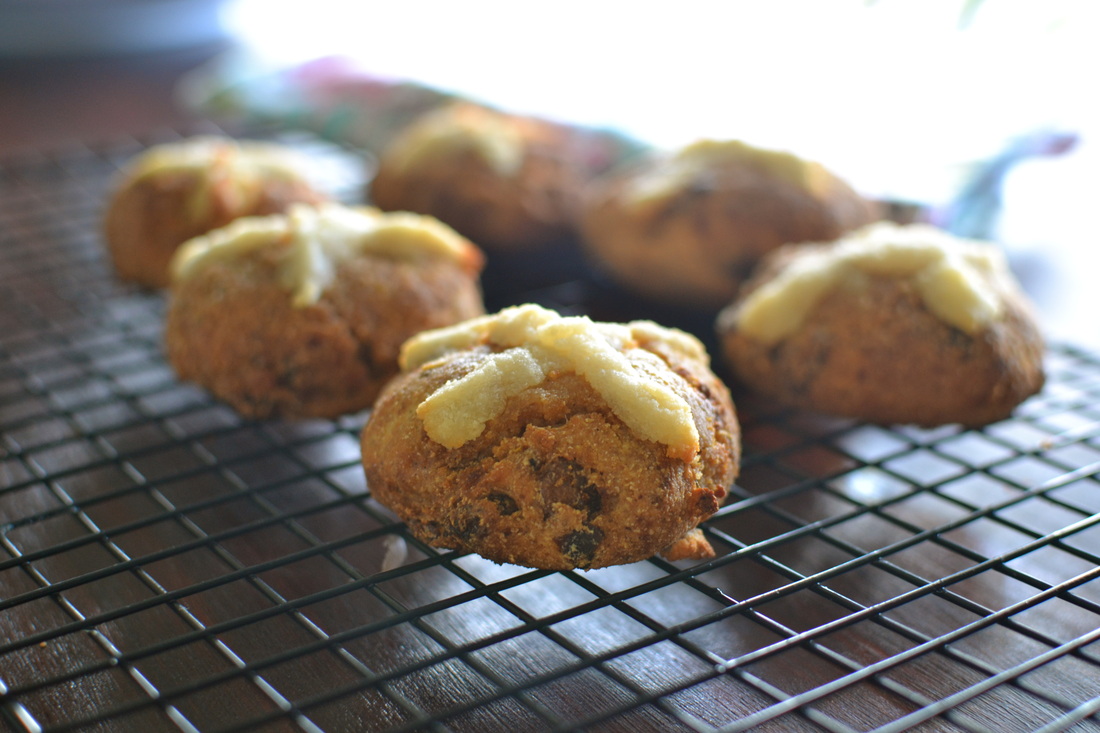
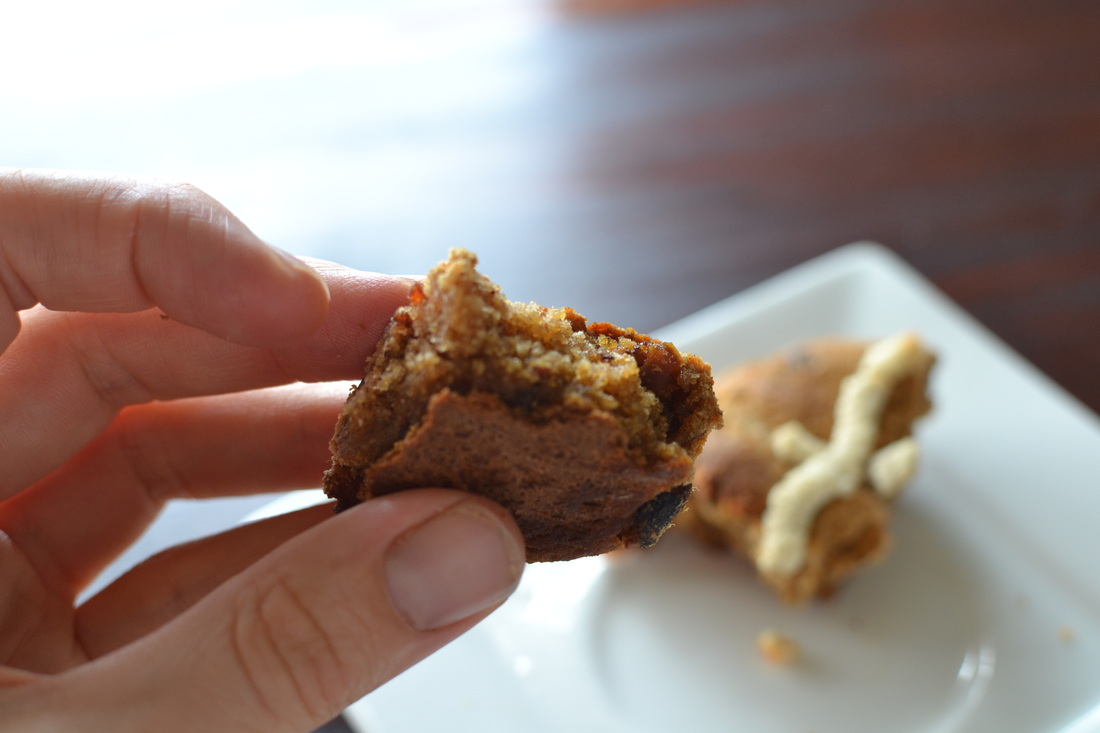
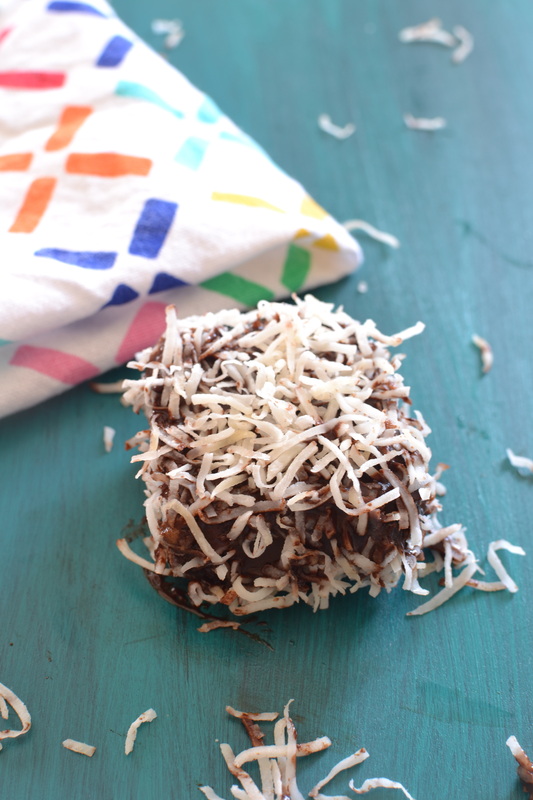
*The pulp mixture is really yummy too so I roll the leftover nut pulp into balls and dehydrate to make delicious cookies
1 cup of Almonds
2 cups filtered water
3 Tablespoons Raw Cacao
4 Medjool Dates
Soak almonds in water for at least 1 hour but preferably overnight. Drain, rinse and place in blender. Blend on high speed until finely chopped. Add 1 cup of the filtered water and blend on high to combine. Add another cup of filtered water, 3 tablespoons of raw cacao and 4 medjool dates. Blend on high speed until mixture is creamy (about 30 seconds -1 minute) Pour chocolate mixture through a nut milk bag or muslin cloth and enjoy.
*The pulp mixture is really yummy too so I roll the leftover nut pulp into balls and dehydrate to make delicious cookies


 RSS Feed
